Aadi - Construction WordPress Theme - v1.2
The Documentation
For support please check AADI SUPPORT FORUM
Install and Update
Always remember to download the latest version from your ThemeForest account. The Installable WordPress Themes is just the installable WordPress theme files. The Main Files includes these following files and folders:
- Documentation Folder - contains this document and other materials
- Aadi_v1.2.zip (theme folder)
- Plugins Folder - contains all the plugins
- Plugins/js_composer.zip - A (premium) plugin which helps you visually build pages
- Plugins/revslider.zip - The amazing (premium) Revolution Slider which creates beautiful image sliders, video sliders and audio sliders for your website.
- Plugins/aadi_elements.zip - Aadi theme addon plugin to intgrate visual composer shortcodes and provide custom post types.
- Sample_Data Folder - contains sample data files
- Aadi-data.xml All Data
- Aadi-themeoptions-settings.txt Theme Options Settings
- Slider Revolution Sample Revolution Slider
- Licensing Folder
- PSD.zip file - contains psd files
- Child_Theme Folder - Sample Aadi child theme
Step 1. Log into your WordPress Admin area.
Step 2. Look down the left hand column for “Appearance” and then click on the word “Themes”.
Step 3. In the "Themes" page, click on “Add New Theme”
Step 5. After installed successfully, click "Activate" to make the theme active
Step 6. Install optional/recommended plugins if needed. Aadi Elements plugin is theme required plugin. Some of the functionalities will not work properly without aadi elements plugin so install it just after activating the AADI theme. The other two included plugins are optional, but we recommend to install all plugins to have full features. Navigate to Plugins > Add New to install and activate plugins. Besides, we recommend using these extra plugins (free). All has been tested and used on our demo page.
Auto Update
- Go to Plugins > Add News > Upload, find and install /plugins/envato-wordpress-toolkit.zip file (in the download package)
- To establish an Envato Marketplace API connection navigate to the Envato Toolkit page and insert your Marketplace username and secret API key in the designated input fields. To obtain your API Key, visit your "My Settings" page on any of the Envato Marketplaces
- Once the API connection has been established you will see a list of themes that can be auto installed. If you don't see any themes and are certain you've done everything correct, there is a good chance the theme author has not updated their theme to be available for auto install and update. If that's the case, please contact the theme author and ask them to update their theme's information
- Note Only theme is updated. Related plugins must be updated manually. Please check release logs to see if you need to update plugins
Manual Update
You can also update new version in traditional way:
- Deactivate current theme by going to Appearance > Themes and activate any other themes such as the default WordPress 4.5.3's Twenty Fourteen.
- Delete older version by clicking on Delete link. Confirm to delete.
- Update and re-install new version.
All posts and settings will be saved. This is data-safe method.
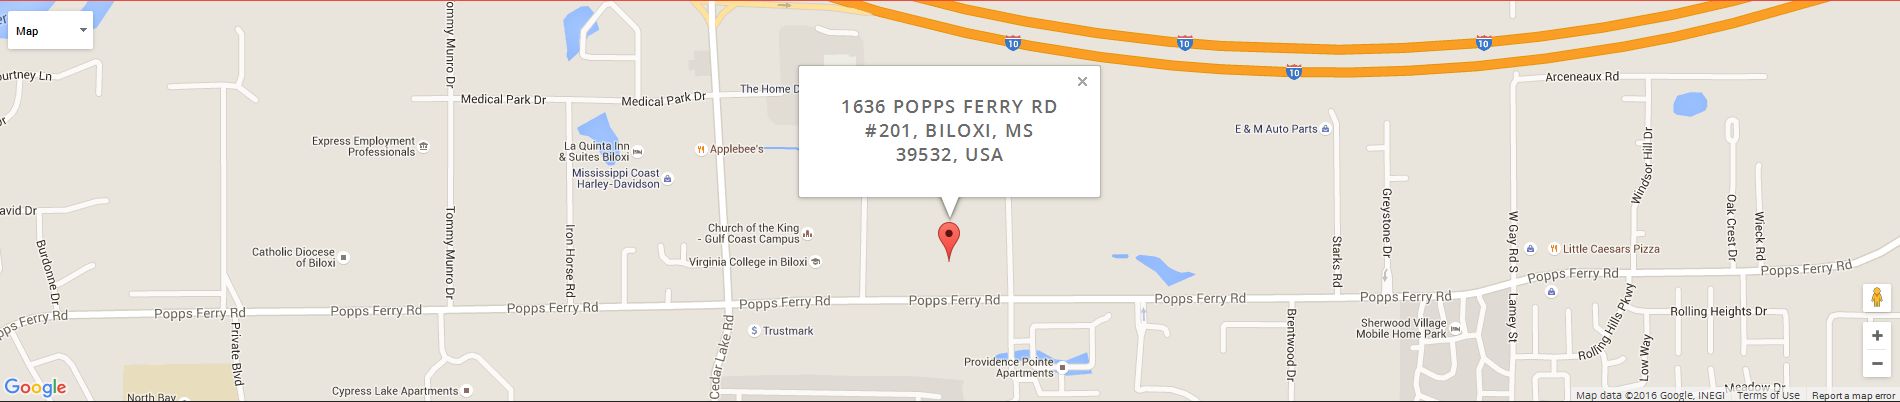
Configure Google Map and Contact Page
Generate Google Map API Key
As per the google's new policy it is required to use API key to show google maps on websites. To get the contact page and google maps functional on your site you need to fill the google map api keys under "General Settings" theme options. To generate API key follow the steps below:
- Login to google developer account with your google account and go to API console.
- Create a new project for your website or use existing project.
- Enable API for your project. Make sure your have selected google map while enabling API.
- Create credentials for your project.
- Copy the key and paste it under general theme options.
- Choose the Map style you want to show on your contact page and fill the address under contact theme options. You can fill multiple addresses seperated with | to show multiple markers on map.
Install Sample Data
One Click Install
Before starting, there are some notes worth checking:
- Make sure you have installed all recommended plugins before importing sample data
- It is better to install sample data on a fresh WordPress installation. Therefore, you may want to reset your site to default settings. Install and use WordPress Reset plugin to do that. After installed, go to Tools > Reset
- The import process may take several minutes due to large data and your server capacity. If your server setting "Max Execution Time" is too low, increase it (as your hosting provider). Please do not close the browser until it finishes. If it fails, you can run this process again until seeing the "Success Message". Demo Images are not installed due to some copyrighted licenses
- Install Sample Revolution Slider if needed. Go to Revolution Slider, click Import Slider and browse for /Sample-Data/revslider-home.zip in the full download package
- If you have to run the process more than once, menu items may be duplicated. Just go to Appearance > Menus and edit/delete Main Menu items
Go to Appearance > Import Sample Data. Click on that and confirm to install sample data. That's all!
Traditional way to import
Alternatively, you can use traditional way to import data. In
/Sample Data/ folder, you can find there are:
- aadi-data.xml All Data
- themeoptions-settings.txt Theme Options Settings
- revslider-home.zip Sample Revolution Slider
To install sample data as seen on
our demo page, following these steps
Step 1. Make sure you have installed aadi theme and all recommended plugins
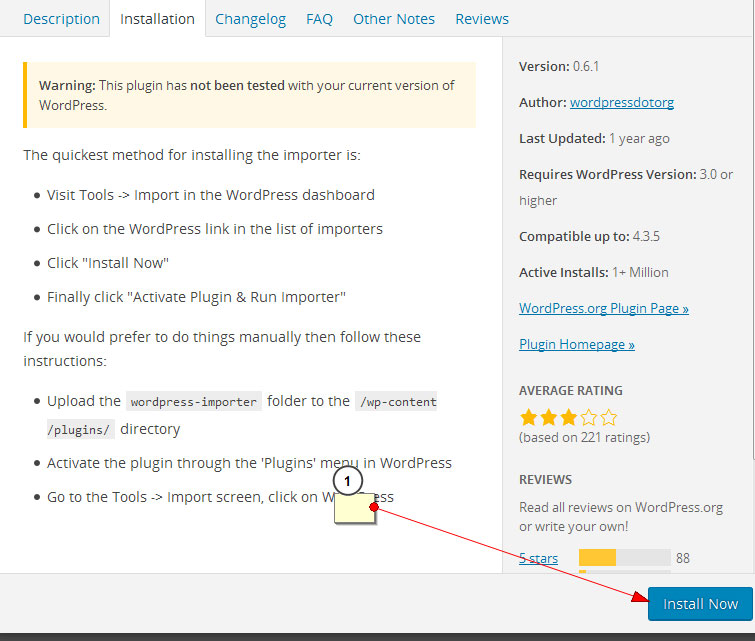
Step 2. Go to Tools > Import, then click on WordPress
Step 3. If it is not yet installed before, you have to install it. On the popup window, click on "Install Now"
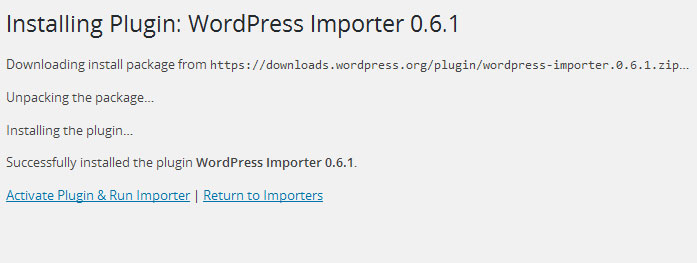
Step 4. After installed successfully, click on Activate Plugin & Run Importer
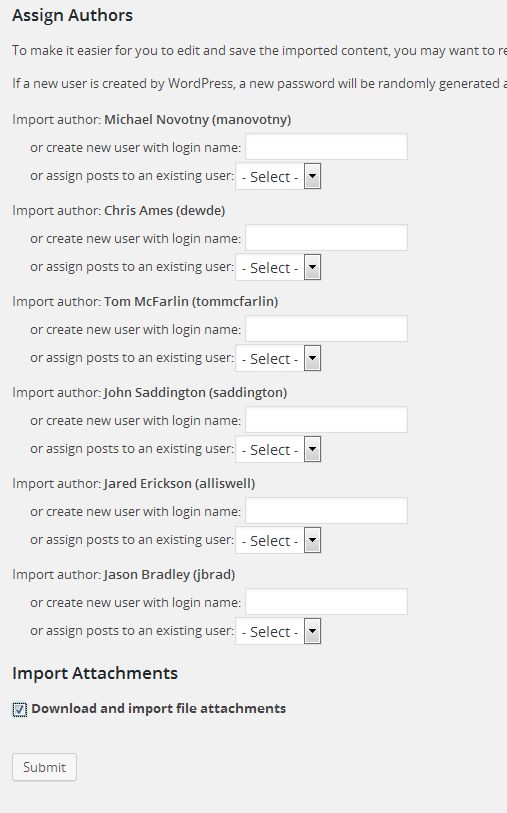
Step 6. After uploaded, the confirmation page appears. Check the Download and import file attachments option and click Submit. If you have trouble with importing (it might breaks in the middle due to long execution time), try again with this option Unchecked! Or, try to import separate files as they are smaller
Step 7. After uploaded, the confirmation page appears. Check the Download and import file attachments option and click Submit
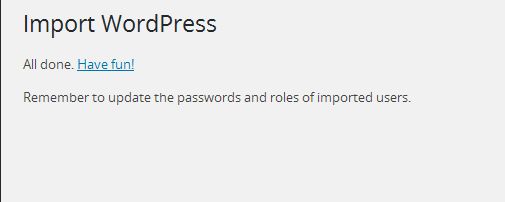
Step 8. When you see message "All done. Have fun!", you will know that the import is done. Note: you may need to re-import the second time if the data is large. Back to Step 1. until you see the message below
Step 8. Go to Settings > Reading, set Front page displays to A Static page. Choose Home Page page as Front page and Blog as Posts page
Step 9. Go to Appearance > Theme Options > Menu Tab, choose Main Navigation menu as Primary Menu
Step 10. Go to Appearance > Theme Options > Transfer Theme Options Data Tab and paste content of Sample-Data/theme-options.txt into Theme Options text field, then click Import Options button.
Step 11. OK, done!
Theme Options
Aadi comes with a lot of options to help you totally customize the look & feel of your site. Go to Appearance > Theme Options to configure.
There are settings for General, Header, Logo, Menu, Page Title Bar, Footer, Sidebar, Typography, Styling, Blog, Portfolio, Services, Social Sharing, Slideshows, Contact, Search Page, Woocommerce, Custom css, Coming soon page and Backup. It is quite straight-forward to learn the use of these sections
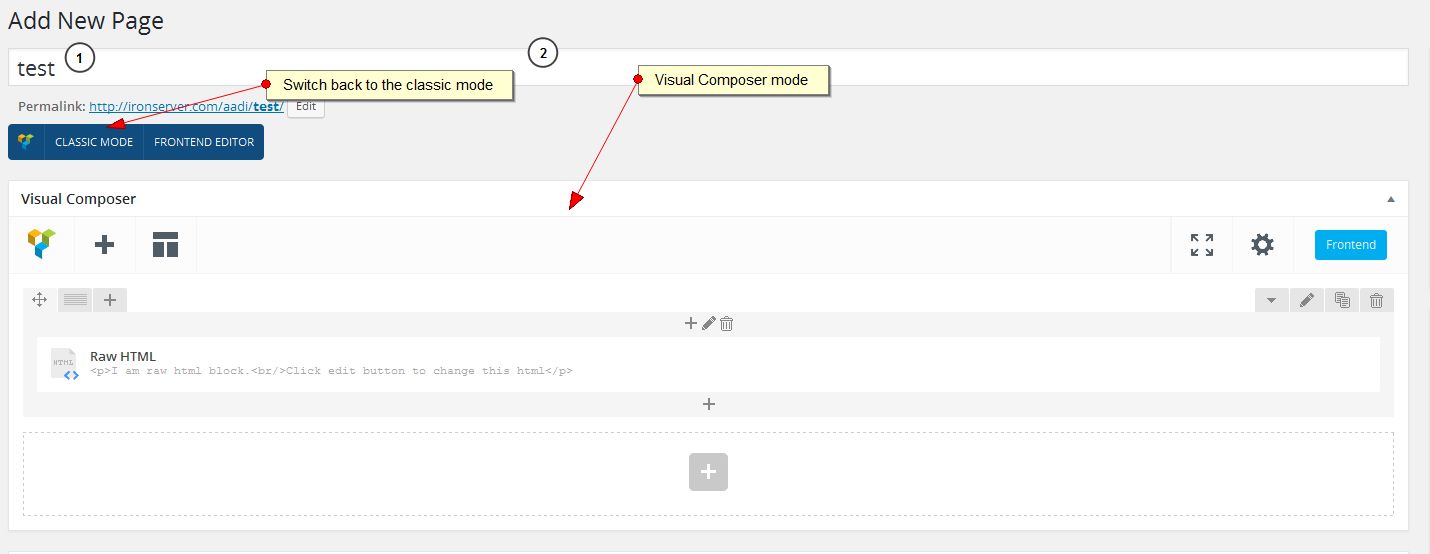
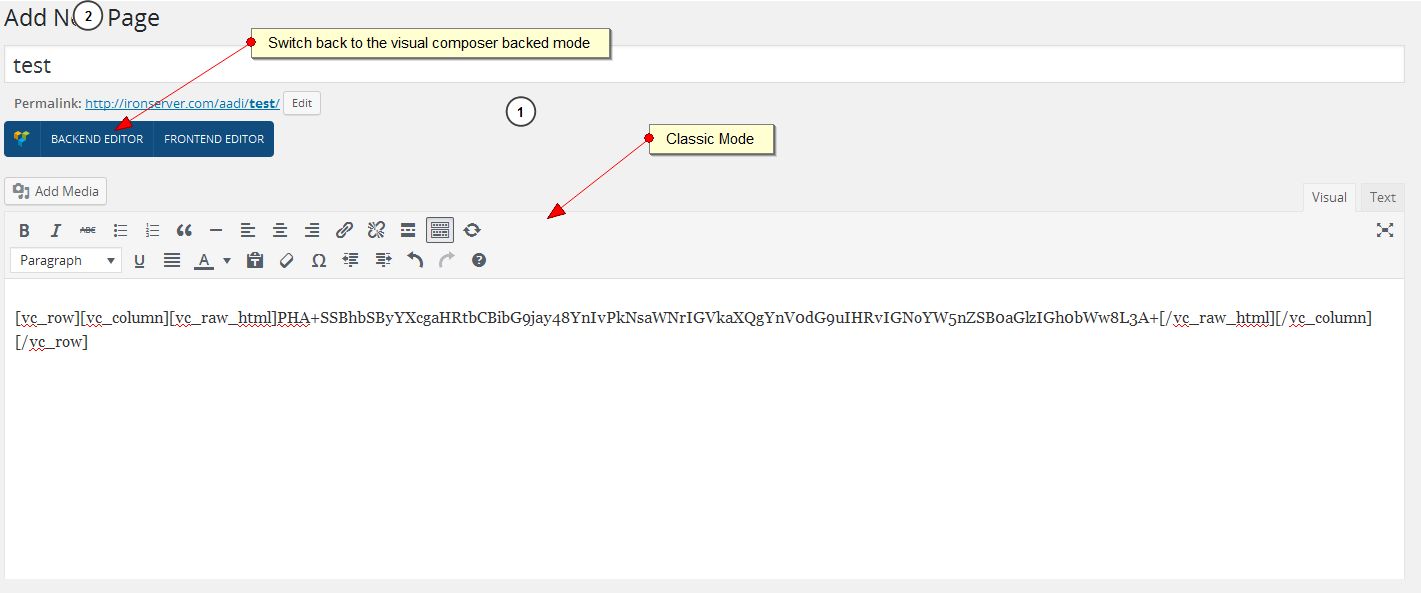
Shortcodes & Visual Composer
When aadi-elements plugin is installed, you will get Visual Composer mode and a full list of shortcodes. Visual Composer is a great plugin which helps you to visually build page layout. You can find full documentation of Visual Composer
Here
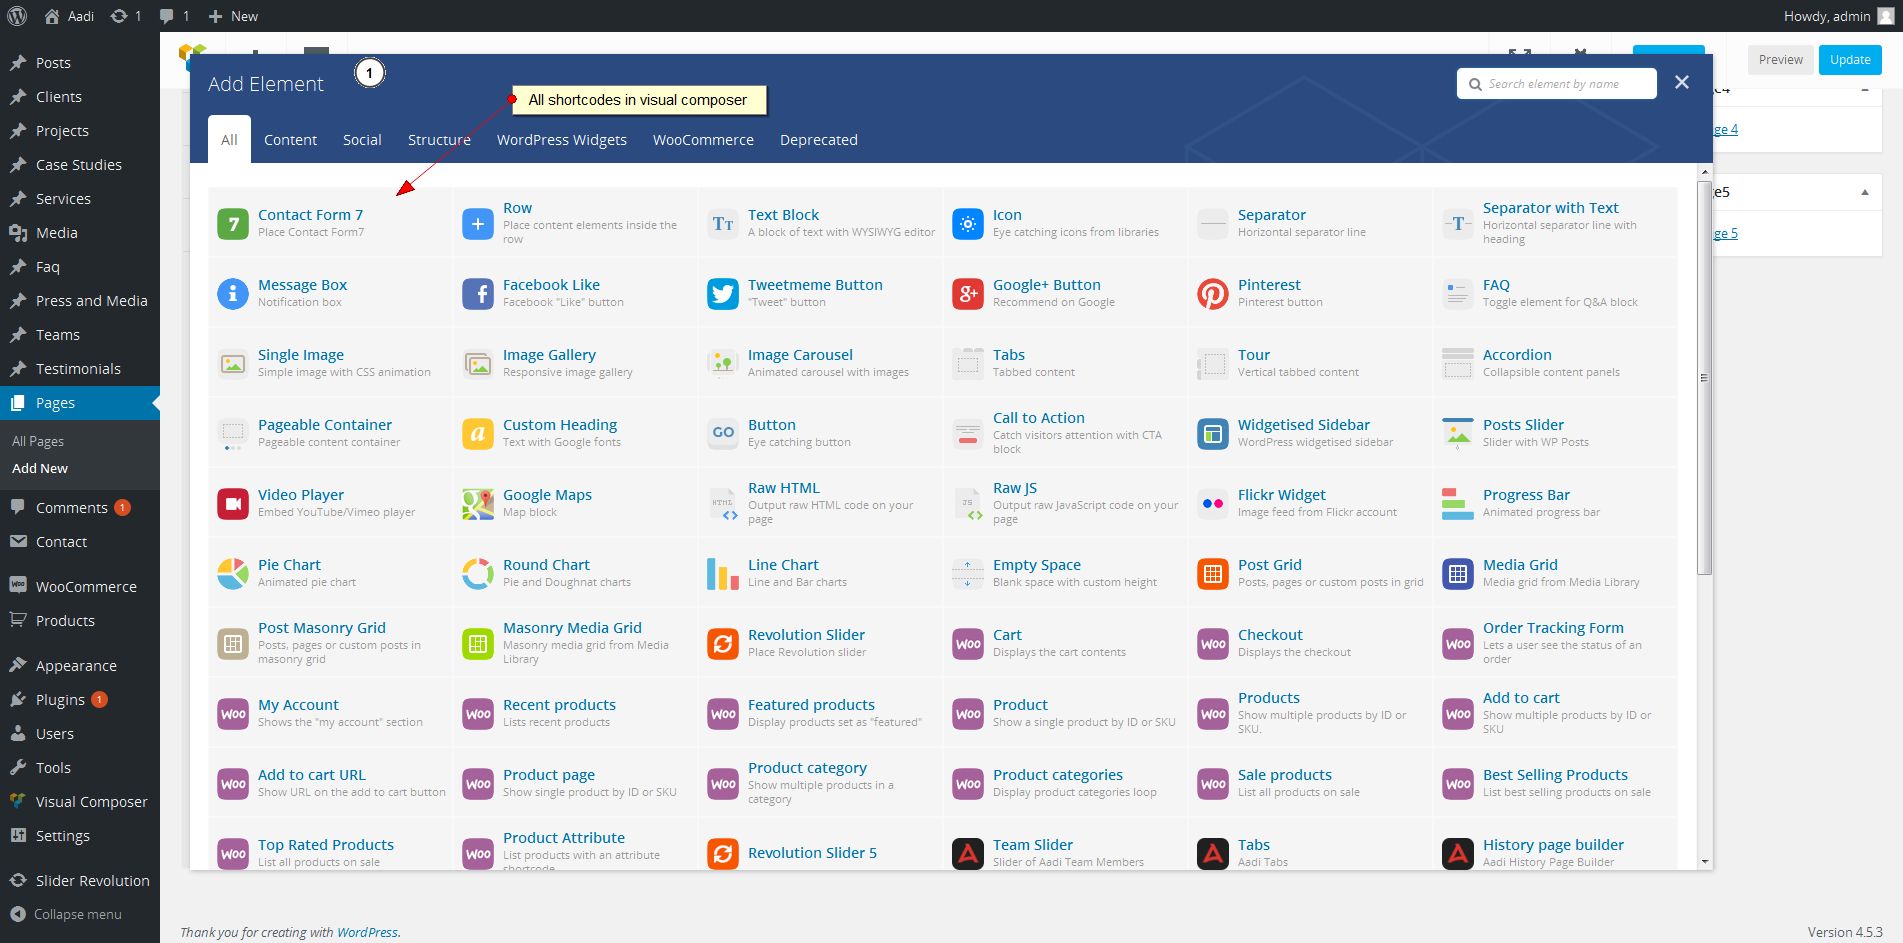
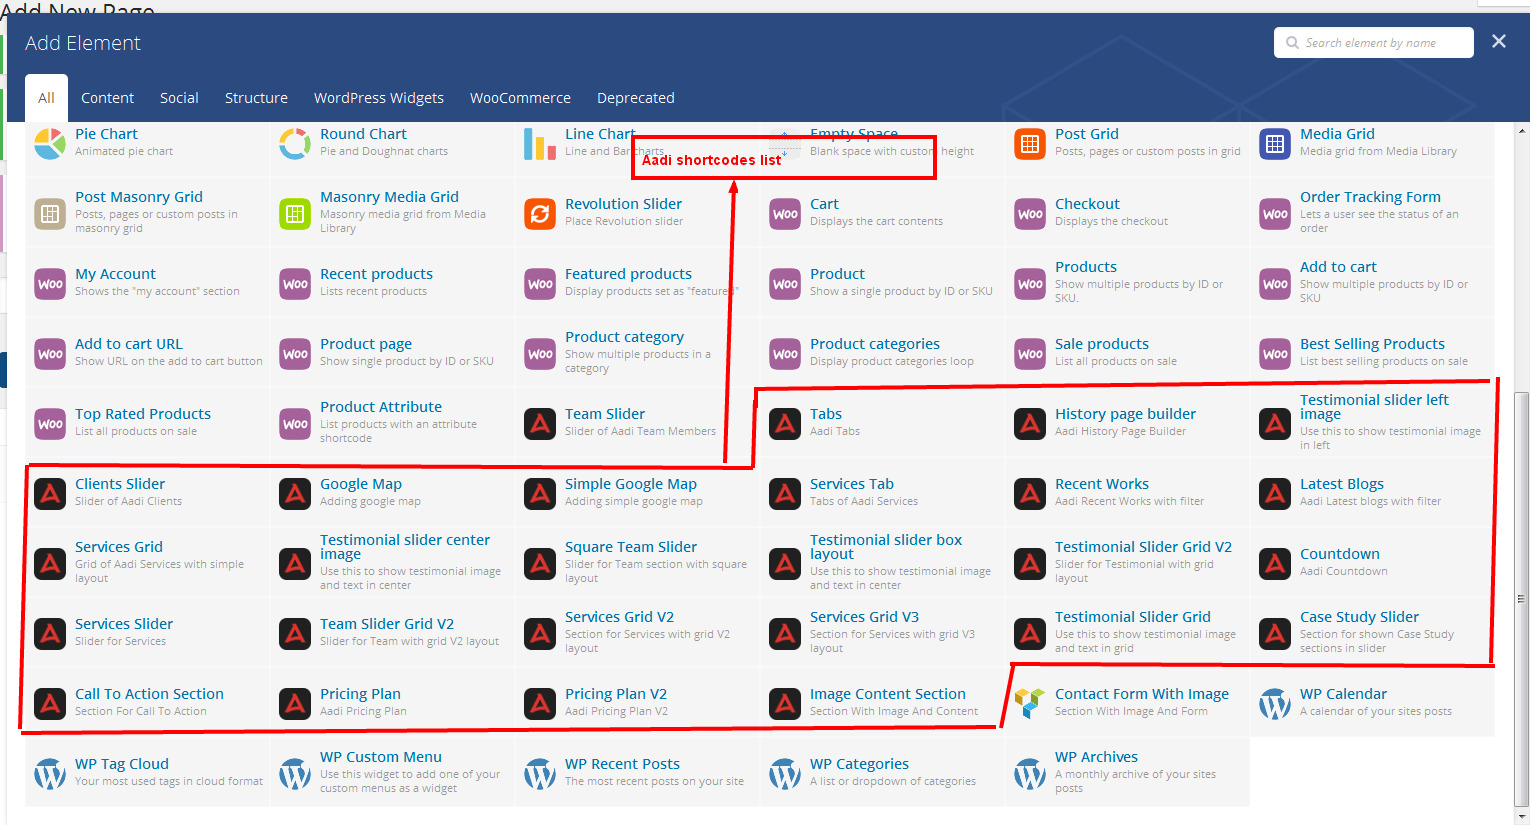
Aadi has a great bunch of built-in shortcodes. Below is list of Aadi shortcodes:
Shortcode list with there output:
Team Slider

Tabs
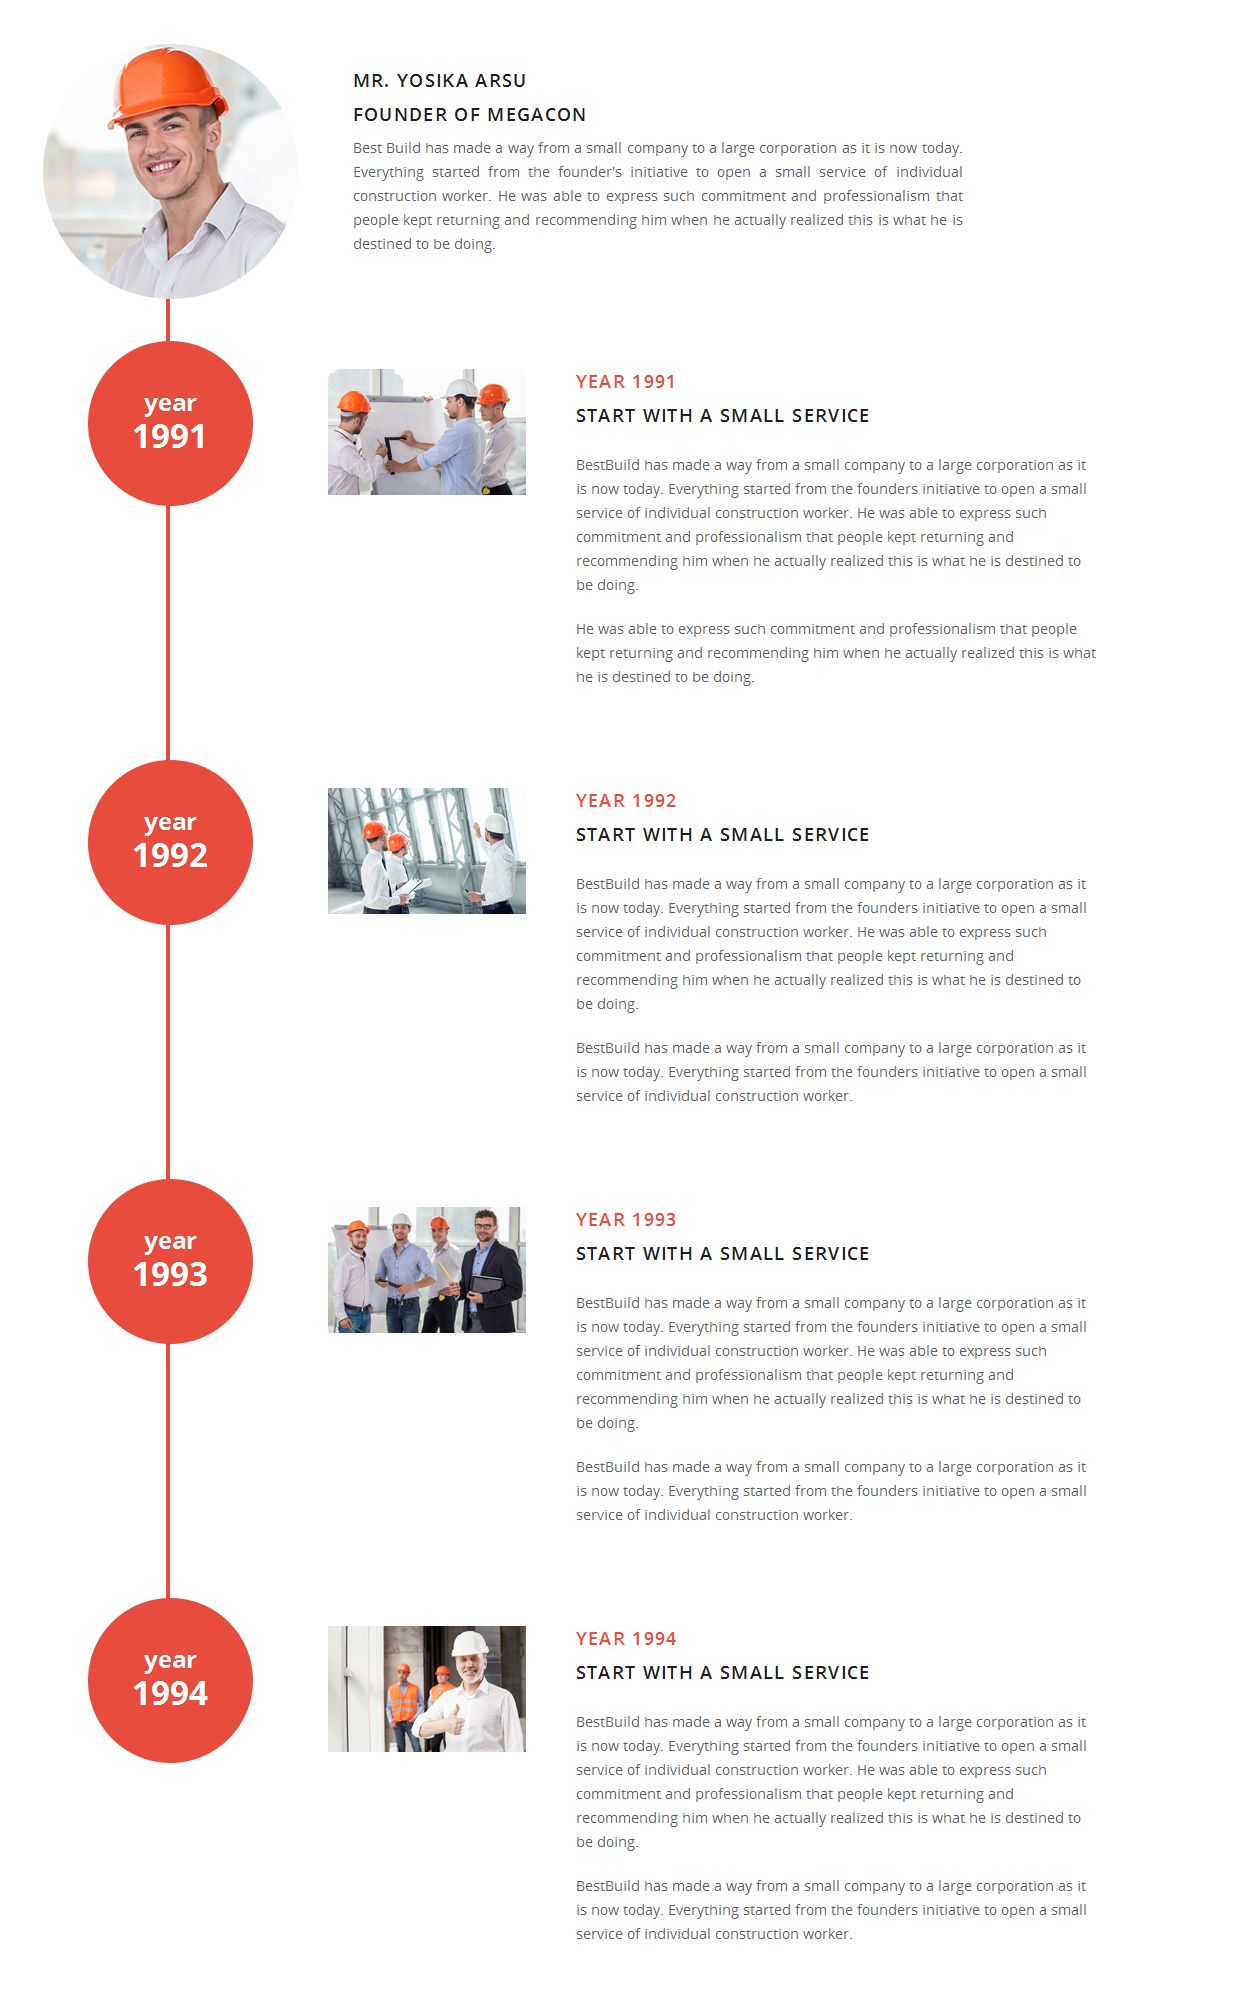
History page builder
Testimonial slider left image
Clients slider

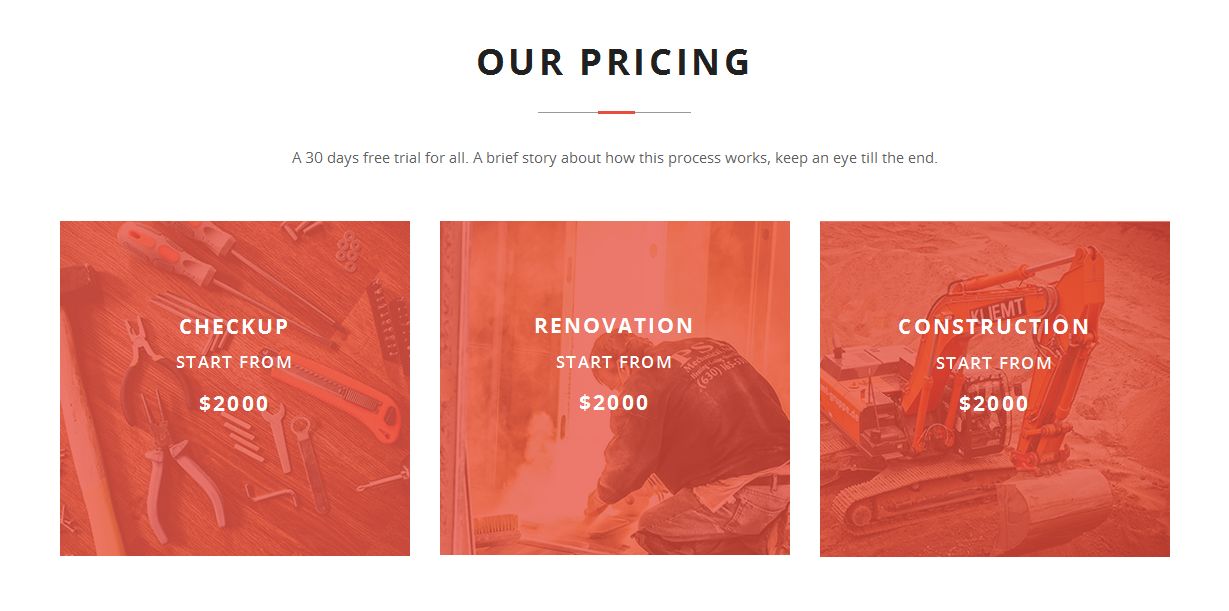
Pricing plan v2
Simple google map
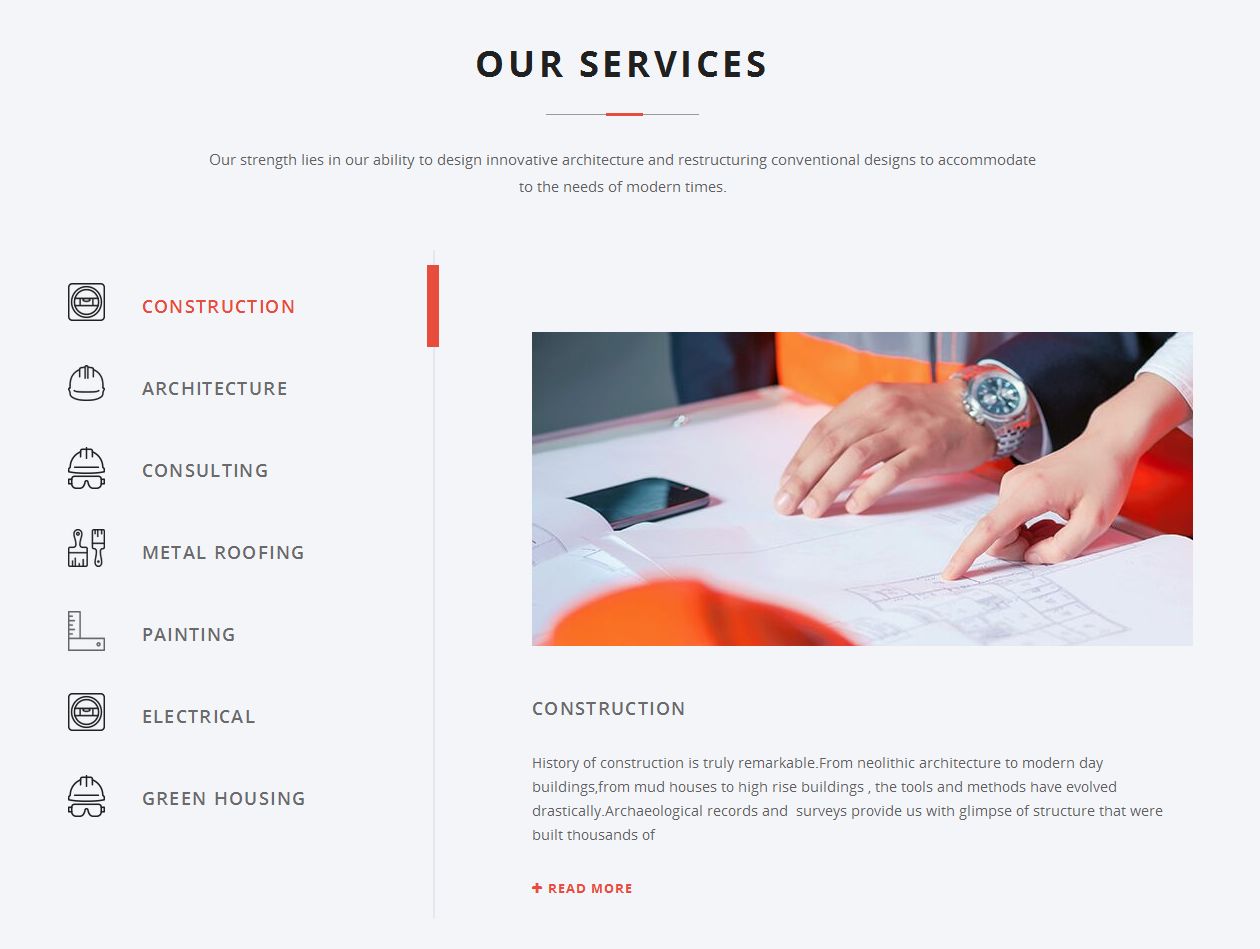
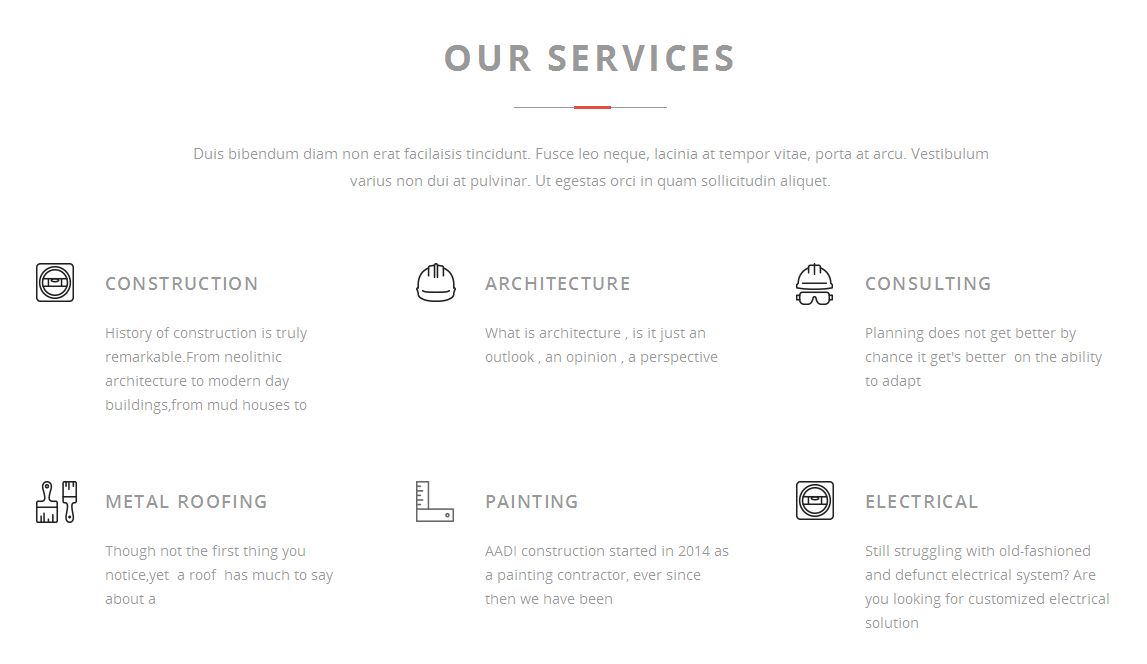
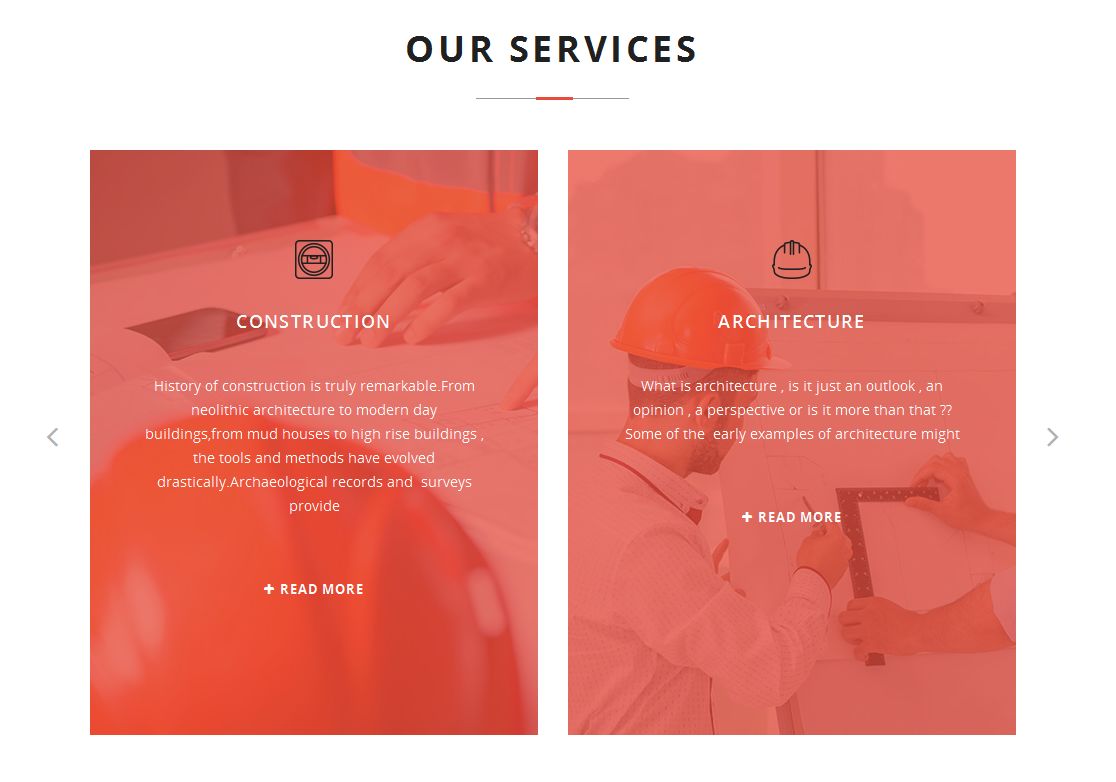
Services tab
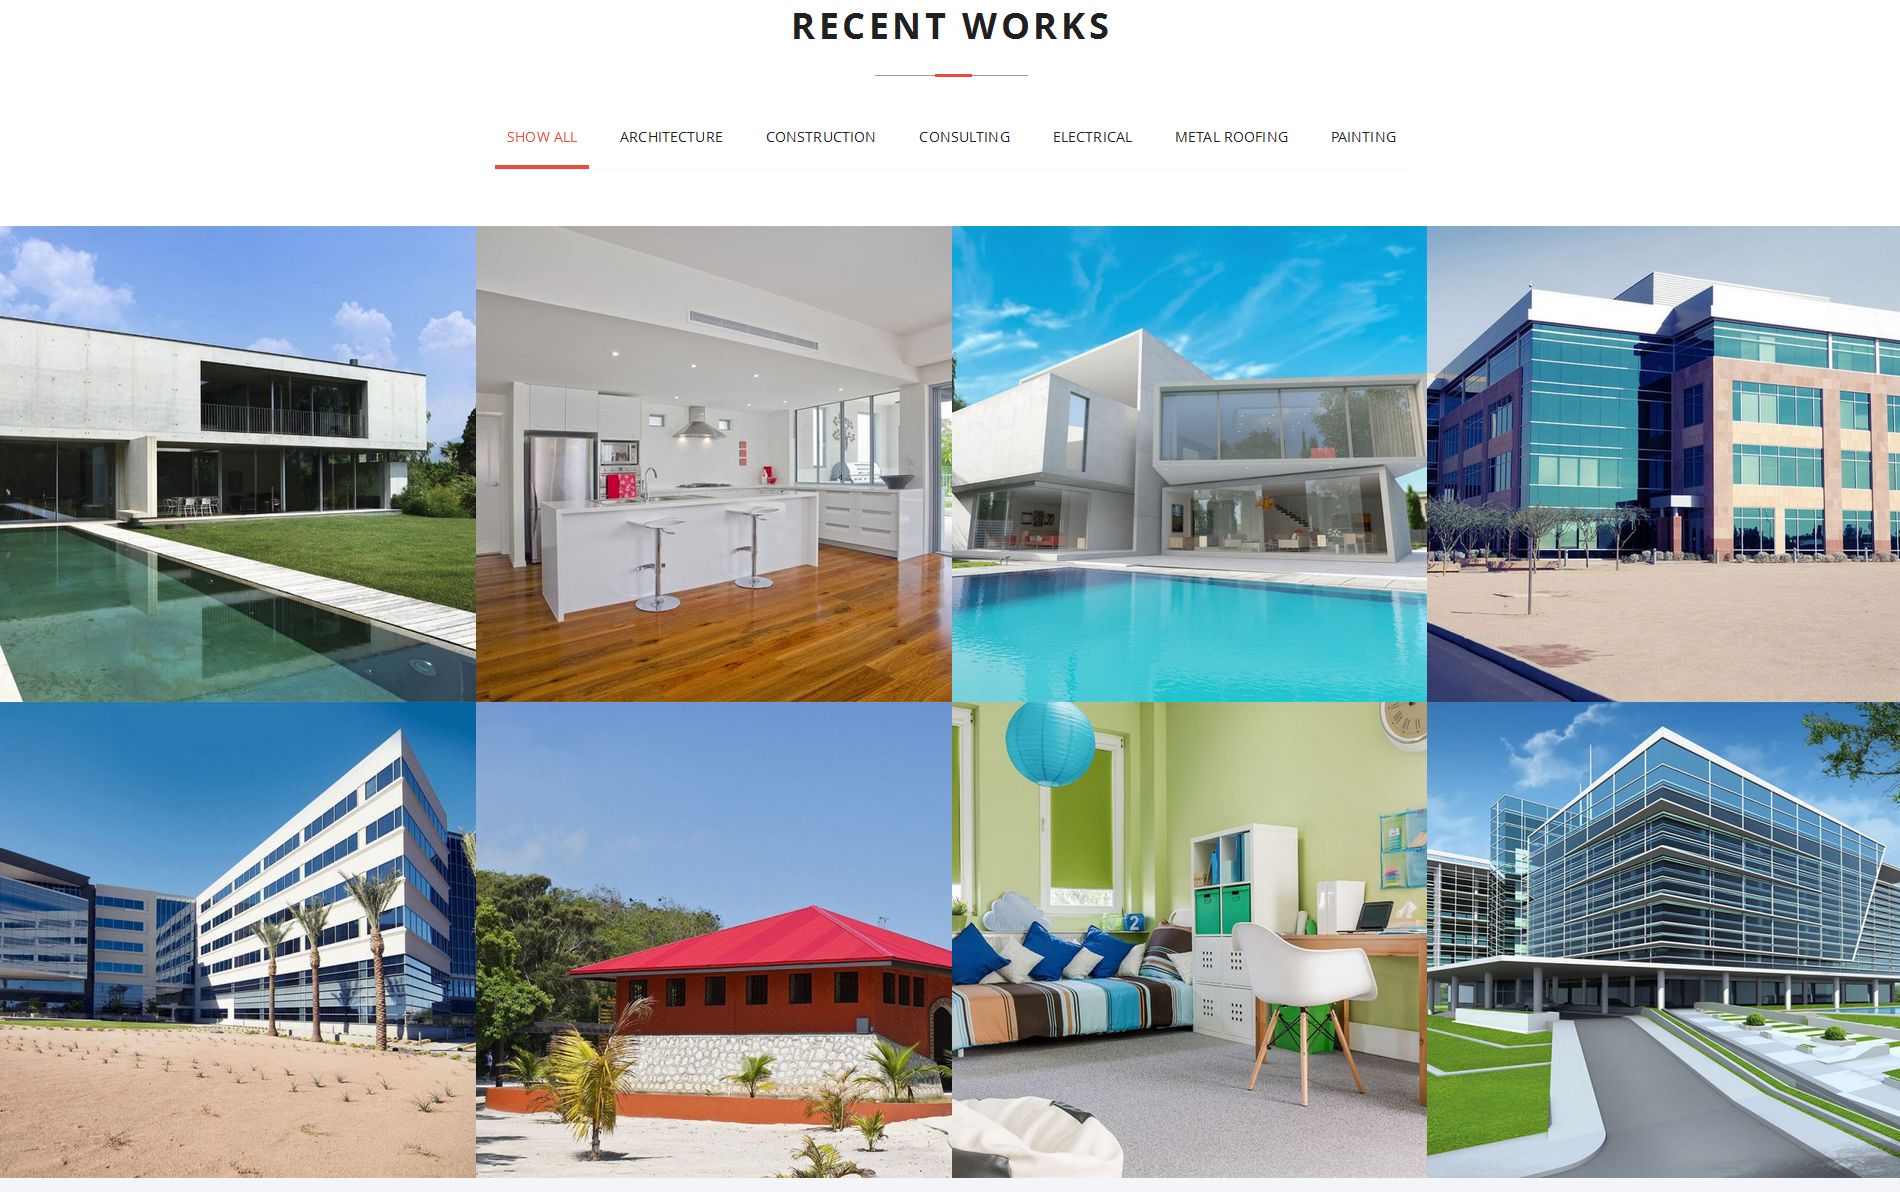
Recent works
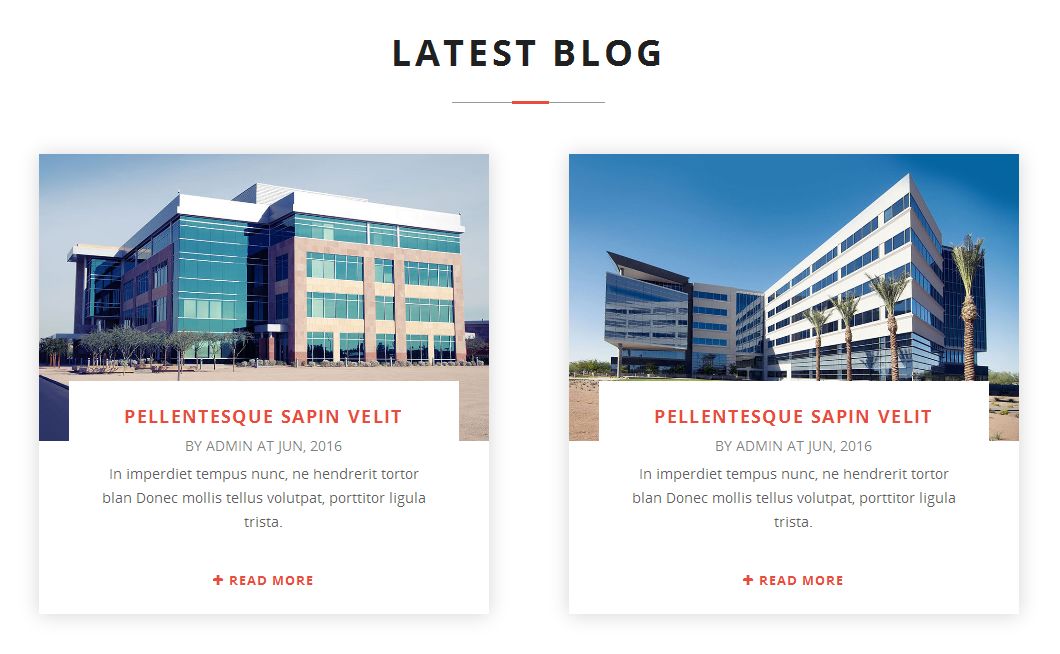
Latest blog
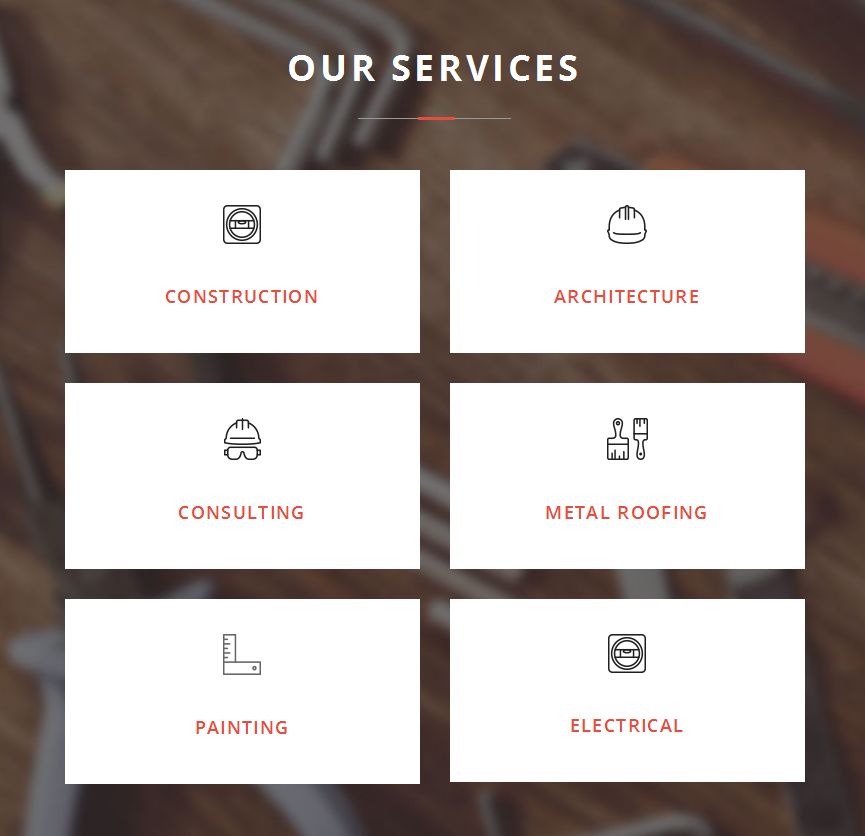
Services grid
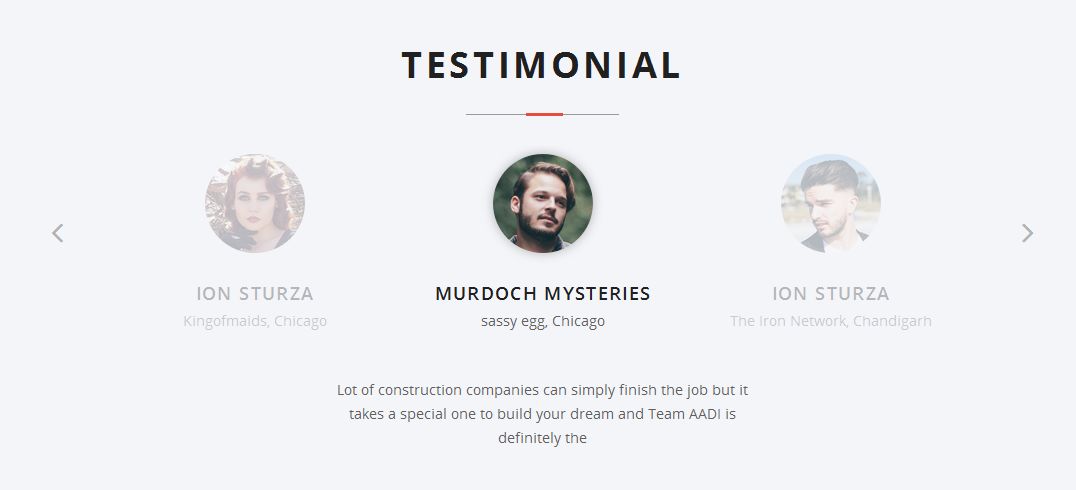
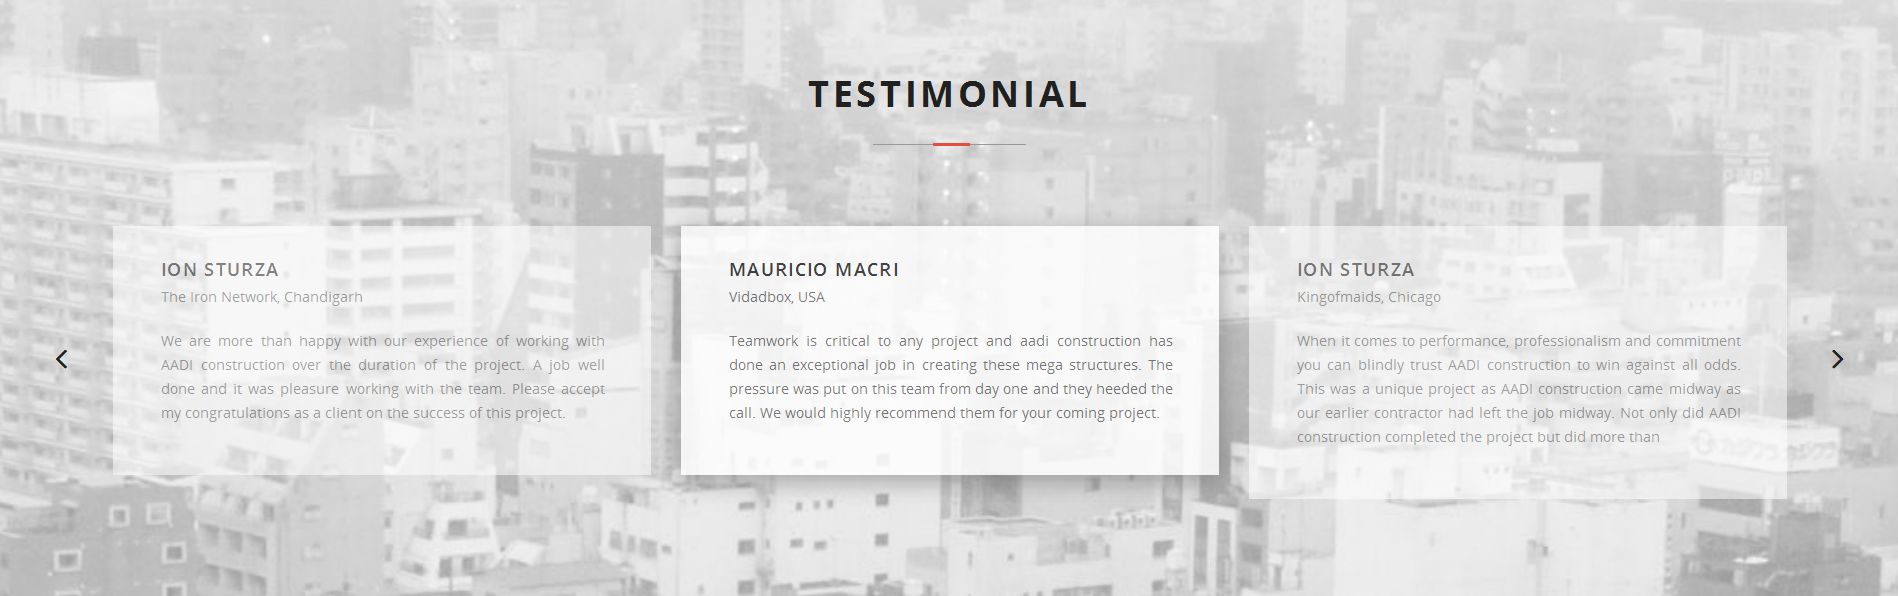
Testimonial slider center image
Square team slider

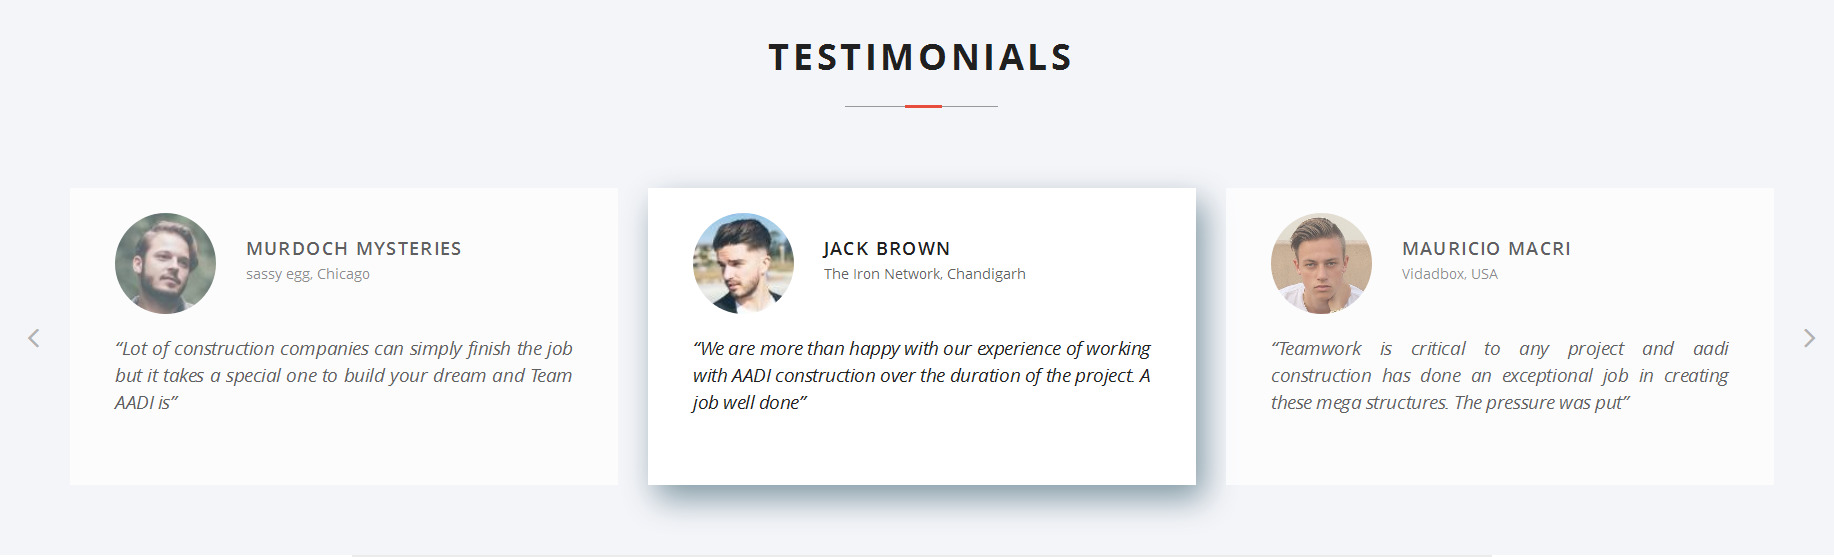
Testimonial slider box layout
Testimonial slider grid v2
Countdown

Services Slider
Team slider grid v2

Services grid v2
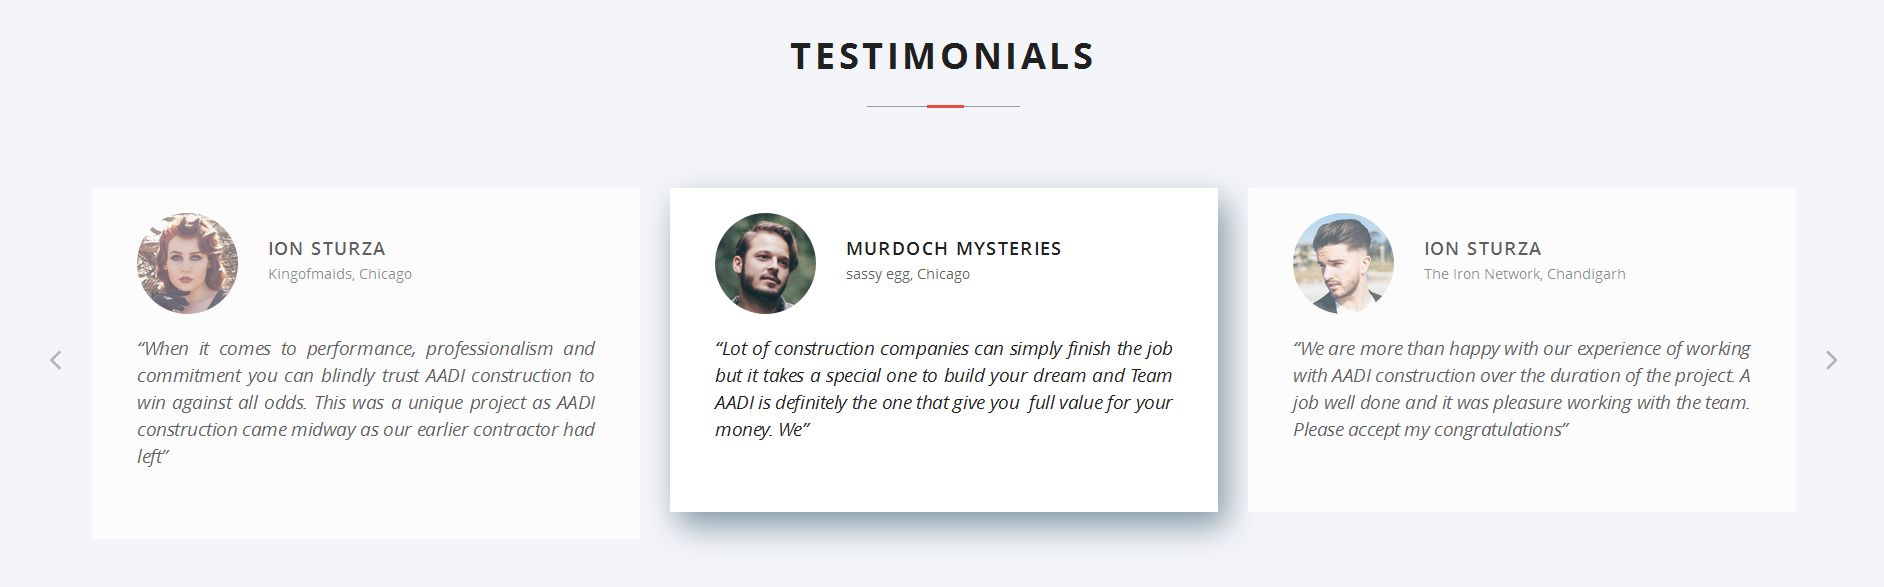
Testimonial slider grid
Latest products
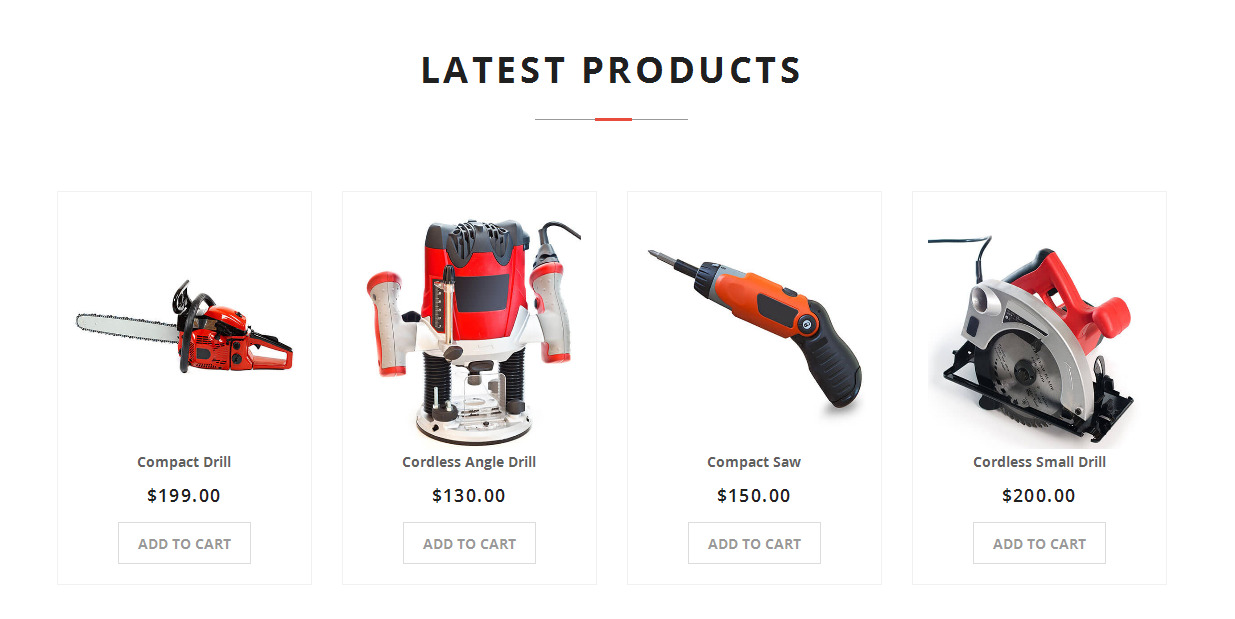
Featured products
Shop by category
Best selling products
Case study slider
Call to action section

Pricing plan
Contact image with form
How to use Shortcode
Step 1: Go to Pages → Add New → Backend Editor to configure, After that choose “Add element”
Step 2: Go to Team slider
Step 3: Enter values for the following parameters:
- Title: Describes the title for the section.
- Number: Select number of items you want to display for team post type.
- Excerpt Length: word length for the team description.
- Slider Speed: Speed of the slider
- Extra Css Class: Add extra class with the shortcode
Step 4: Output:
Setting HomePage & Blog
If you haven't installed sample data, then you can follow this section. When first installed, your home page is blog page. To set up home page, follow the steps below
Step 1. Create a page named Home Page (or whatever you like). Go to Pages > Add New.
Step 2. Disable Comments on this page
If you do not see
Discussion box, click on
Screen Options grips on top of page and check
Discussion.
Step 3. Build content of home page using shortcodes and other elements.
Step 4. Go to Appearance > Header options. In this tab, you can select the header for your site.
Step 5. Go to Appearance > customize > Static Front Page. Then set Front Page to the page you created in previous step (Home Page)
To set up blog, follow the steps below
Step 1. Create a page named Blog (or whatever you like)
Step 2. Select a template form the right side bar for your blog page. There are 4 layouts available for blog listing page.
Step 3. You can set the blog listing page settings from the page options under post tab.
Step 4. You can further set the setting like slider, header, footer, sidebar, page title ber etc.
Step 5. Then click on the publish button to save your settings.
Step 6. You can also select the options for the blog page in the theme options(Appearance > Theme Options > Blog).
Pages, Posts and other post types
Before reading next, see document for Visual Composer to learn how to use Rows & Columns to build page!
Although common settings for Pages can be done in Appearance > Theme Options > Single Page & Single Post/Video, each page/post can have its specific settings.
When adding new page, there are 2 sections to setup: Page Attributes & Page Settings
Page Templates
Choose Page Template for this Page. There are 25+ templates available with AADI theme
- Default Template Page will have the same layout which is set in Appearance > Theme Options > Single Page
- Blog Templates 4 Blog page templates with different design and layout.
- Coming Soon 3 Coming soon design templates.
- FAQ Template 2 FAQ page templates with accordion and simple listing.
- Login Signup Login and Signup template with login and signup form designs
- Press and Media Page template to list press and media releases.
- Project Templates 3 Project listing templates with list, grid and msaonary layout.
- Services Templates 3 Services templates with different design layouts.
- Team List Template Template to list all team members.
- Testimonial Template Template to list all testimonials.
- Maintenance Template 2 Templates to show under construction or maintenance status.
Page Options
Page options provide feature to set Headers, Page title bar, Sliders, Footer, Sidebars and other options.
Licenses
Used Assets
- Revolution Slider (Extended License) - http://codecanyon.net/item/slider-revolution-responsive-wordpress-plugin/2751380
- Visual Composer (Extended License) - http://codecanyon.net/item/visual-composer-for-wordpress/242431
- SMOF (GPLv3 License) - https://github.com/syamilmj/Options-Framework
- Font Awesome (GPL License) by Dave Gandy - http://fontawesome.io
- Slick Carousel (MIT License) - http://kenwheeler.github.io/slick
- Magnific Popup (MIT License) - http://dimsemenov.com/plugins/magnific-popup
- Masonry (MIT License) - http://masonry.desandro.com
- Modernizr (MIT License) - https://modernizr.com
The list might not be complete by accident. Authors who think you owe a license in this theme, please contact us at [email protected]
Support
If you face problems with the installation or customization of our product please do not hesitate to contact us via our support ticket system:
http://aadi.theironnetwork.org/support